


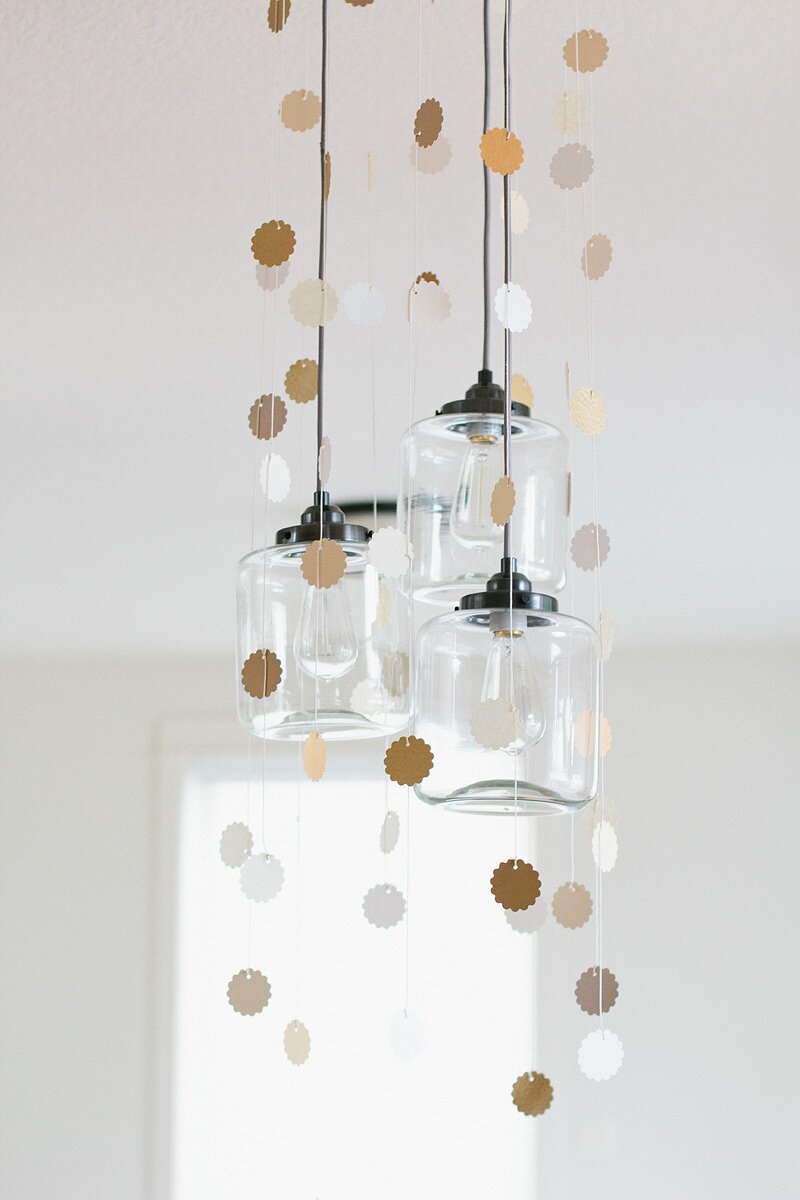
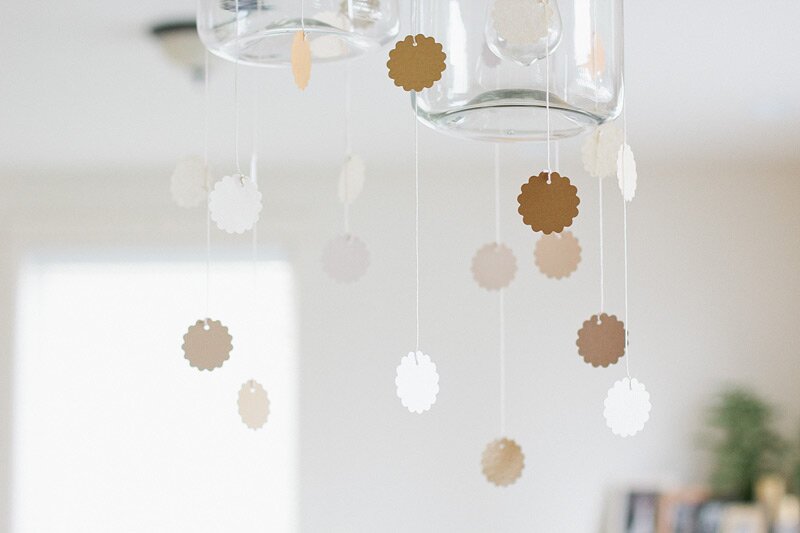
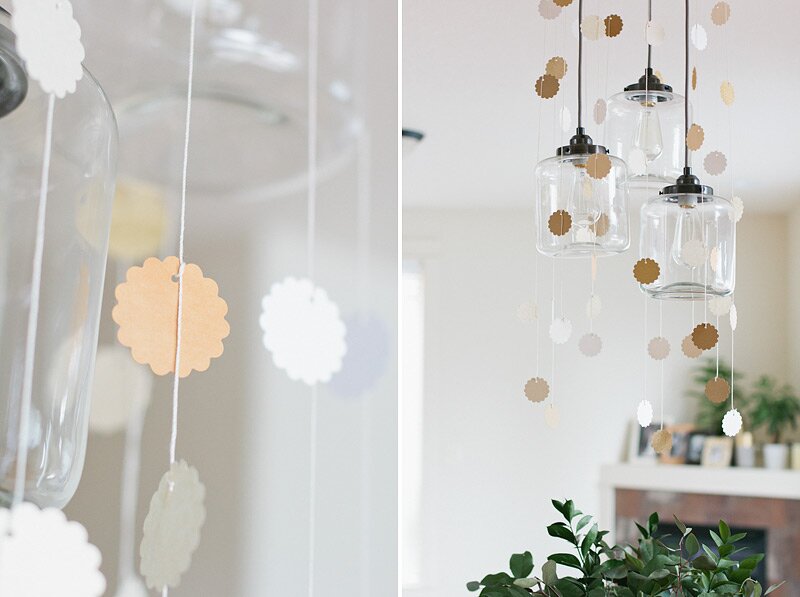
DIY: Scallop Garland
We threw a bridal shower / going away party for my sister last weekend. We kept it simple and sweet. I used whatever I had available already in my home, and just popped out to the store to buy greenery for the table. Gold and ivory tablecloths, greens in jars, and various long candlesticks (so they would burn at different speeds and create candles of various lengths). I also handmade a simple scallop garland to hang from the dining room lamp. You can either make this a long garland — or just in pieces like I did, hanging them in a circle around the lamp. These photos were taken long after the party was over and everything was cleaned up, so all the details aren’t here.
Supplies needed (besides the paper):
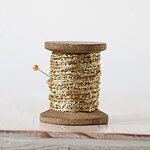
2″ Scallop Punch (I used the brand)
1/8″ Hole Punch
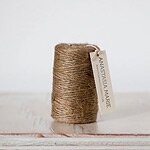
Cotton string
Scissors
To make the garland, punch out scallop circles from various paper textures and colors. I kept the color palette ivory, taupe, and gold since those are some of the key colors of my sister’s wedding. Hole punch the scallops. Cut a good length of string and tie one scallop to the very end. String the next scallop on and tie it on by looping that same end through. To keep it looking smooth, alternate the various scallops by color and texture. Also, don’t secure them on with the same distance in between; instead, vary the distances up and you’ll save yourself the headache of trying to make it ‘perfect’ (this is a big time saver).
Note: a trick to keep the scallops hanging naturally, don’t tighten your loop around each one until you position it properly. Making the loop too tight makes the scallops stick up awkwardly instead of making them look like they’re just falling.

By Anastasia Marie
1 comment
Leave a Sweet Comment
I’ve always preferred gold over silver in any season. So today I just wanted to share some fun gold dotted DIY projects (some I’ve shared before) that are worth trying. Project links below.
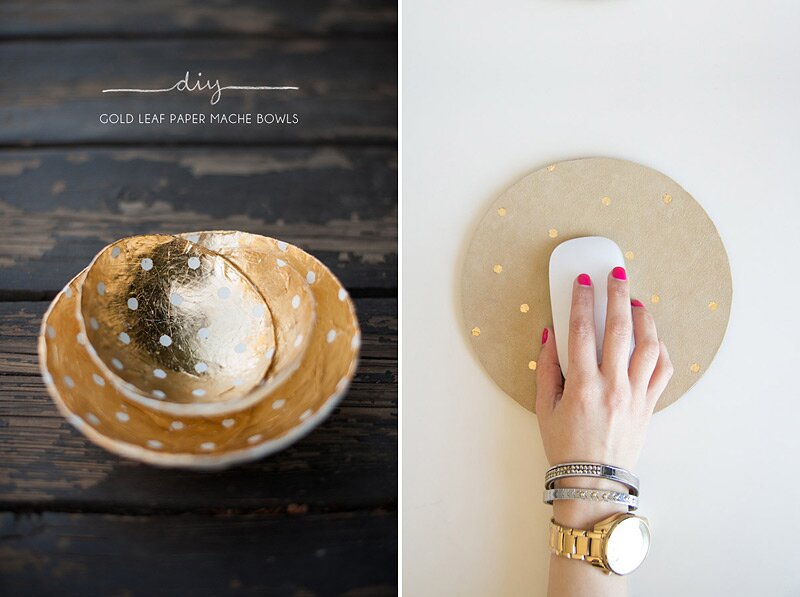

BOWLS via Kelli Murray | MOUSE PAD via Lovely Indeed | CHAIR via Whipperberry with project by My Fabulous Life | TEA CUPS via Michaela Noelle.
By Anastasia Marie
No comment
Leave a Sweet Comment

When my husband and I were still engaged, I put together a little book of all the things I loved about him instead of giving him a card. I loved seeing his face as he flipped through the pages, either smiling and laughing out loud at the bizarre things I managed to put in there. And because it was such a special thing for us, I decided to share with you how to make one yourself.


1 Cut out little pieces of paper sized at 2½” x 2″, hole punch them, pull a pretty ribbon through and tie a bow.
2 On the front page, write “I love…” to begin the adventure.
3 Write out all the things that you love about your sweetheart.
4 Fill a kraft box will tissue paper confetti and place the book inside.
5 Stamp a huge heart on the lid of the box, add some glitter, and voila!

By Anastasia Marie
2 comments
Leave a Sweet Comment
-
Sweet Girl
It’s really fancy ;)
-
Preciously Me
So sweet and romantic!!!
Especially when there are so many things you love about your sweetheart … I just have to find a box that is big enough to put all I love in him ?

Wrapping up Christmas gifts is one of my most favorite things to do during the holidays. I’m sure many of you can join in on that with me. The gift that always gets left in the dust it seems is the gift card. I do gift these to people quite often, so I try to present them as prettily as I can. This year, I will be giving out some, so I made some cute little envelopes and am showing you below how to make your own.


1 Cut your holiday paper into 5×4.25″ sized sheets.
2 Score the sheet in three areas: 1 3/8″ from each side and 3/4″ from the bottom. You’ll see a chart above that shows the lines you’ll need to create (yellow dashed lines).
3 Make your flaps by cutting in the designated areas shown above in the same chart (blue dashed lines).
4 Dab some glue on the right flap and fold the left flap over it. Dap some more glue on the bottom flap and fold that one over the other two. You’ll find that you used sturdy paper, getting them to stick together will take a little longer than if you used a lighter weight paper.
5 Cut a finger slot with a pair of scissors or a punch tool.
Embellish the gift card holders some more by adding baker’s twine or some other festive tidbit.


By Anastasia Marie
6 comments
Leave a Sweet Comment
-
Di
Hi, thanks so much for sharing! Do you happen to have the template? And what’s the meaning of score?
-
Anastasia Marie
Di: The I don’t have a printable template for this, but it’s all written out on the post on what sizes you need to cut the paper and everything. To score means to create a crease line along which you would later fold. This helps keep the fold nice and clean. Some people just use a ruler and a score tool, but I like to use Martha Stewarts scoring board. It makes things so much easier.
-
helen
Thanks for posting this!! I made a bunch of these with some cardstock I had. Then I had some leftover greeting cards that I couldn’t use and they were perfect for this project! Nice thickness, a bit glossy :).
-
11 Fun Gift Card Holders For Everyone On Your Christmas List
[…] For the Fashion-Conscious […]
-
12 Creative Ways to Give Gift Cards - Life After Laundry
[…] DIY Paper Gift Card Holder via Anastasia Marie […]
-
24 Cute And Clever Ways To Give A Gift Card | Best Collection of Funny Funny Pictures – Bimbo Mail
[…] anastasiamariecards.com […]

As you saw in yesterday’s post on my birthday party decor, I made a ribbon garland out of glittery holiday ribbon. I bought the ribbon at JoAnn and set to work a couple days before the party. Besides the ribbon, all you need is some white cotton string, double-sided tape or tacky glue, and a pair of scissors. I used double-sided tape for mine — it held pretty good because my ribbon was very lightweight and smooth where I placed the tape but if the ribbon you get is heavier or has glitter on both sides of the ribbon, the tacky glue will probably be a better option for you.

How it works: Cut your ribbon into various lengths, fold each piece over the string and make a crease. Unfold it, apply your tape or glue onto both the ribbon and the string, and re-fold. Pinch the fold to give it a more tighter seal. I used mainly gold and a lighter gold for my garland with bits and pieces of silver simply because I didn’t buy enough ribbon, but it still turned out so well. Enjoy making yours!


By Anastasia Marie
7 comments
Leave a Sweet Comment
-
Gillian
Wow, this is so pretty! I definitely will do this for our Holiday party, love it!
Gillian
-
Aimee
This idea is beautiful! I want this garland up in my room year-round. :)
xoxo Aimee
Bows&Beau-ties -
Liz @ I Heart Vegetables
This is lovely! What a perfectly festive backdrop!
-
Candace
I LOVE this!!!
Thanks for sharing!
xoxo
Candace
http://www.FromCtoC.com -
Happy 2014 | First, We Shop
[…] glitter ribbon garland – idea from Anastasia Marie […]
-
5 DIY trop easy et trop jolis | POP YOUR PARTY - LE BLOG
[…] Les photos à retrouver ici […]
-
16 Gold DIY Decorations for Your Blingy Holiday Bash (All Under $25!) - Porch.com
[…] Photo courtesy of Anastasia Marie […]
- Next Page »
© 2015 Anastasia Marie. All Rights Reserved.
Lovely. Thank you!